DIY Electronic Doorbell Analog Circuit with NE555 DC 6V Kit (10006443)
1.Introduction:
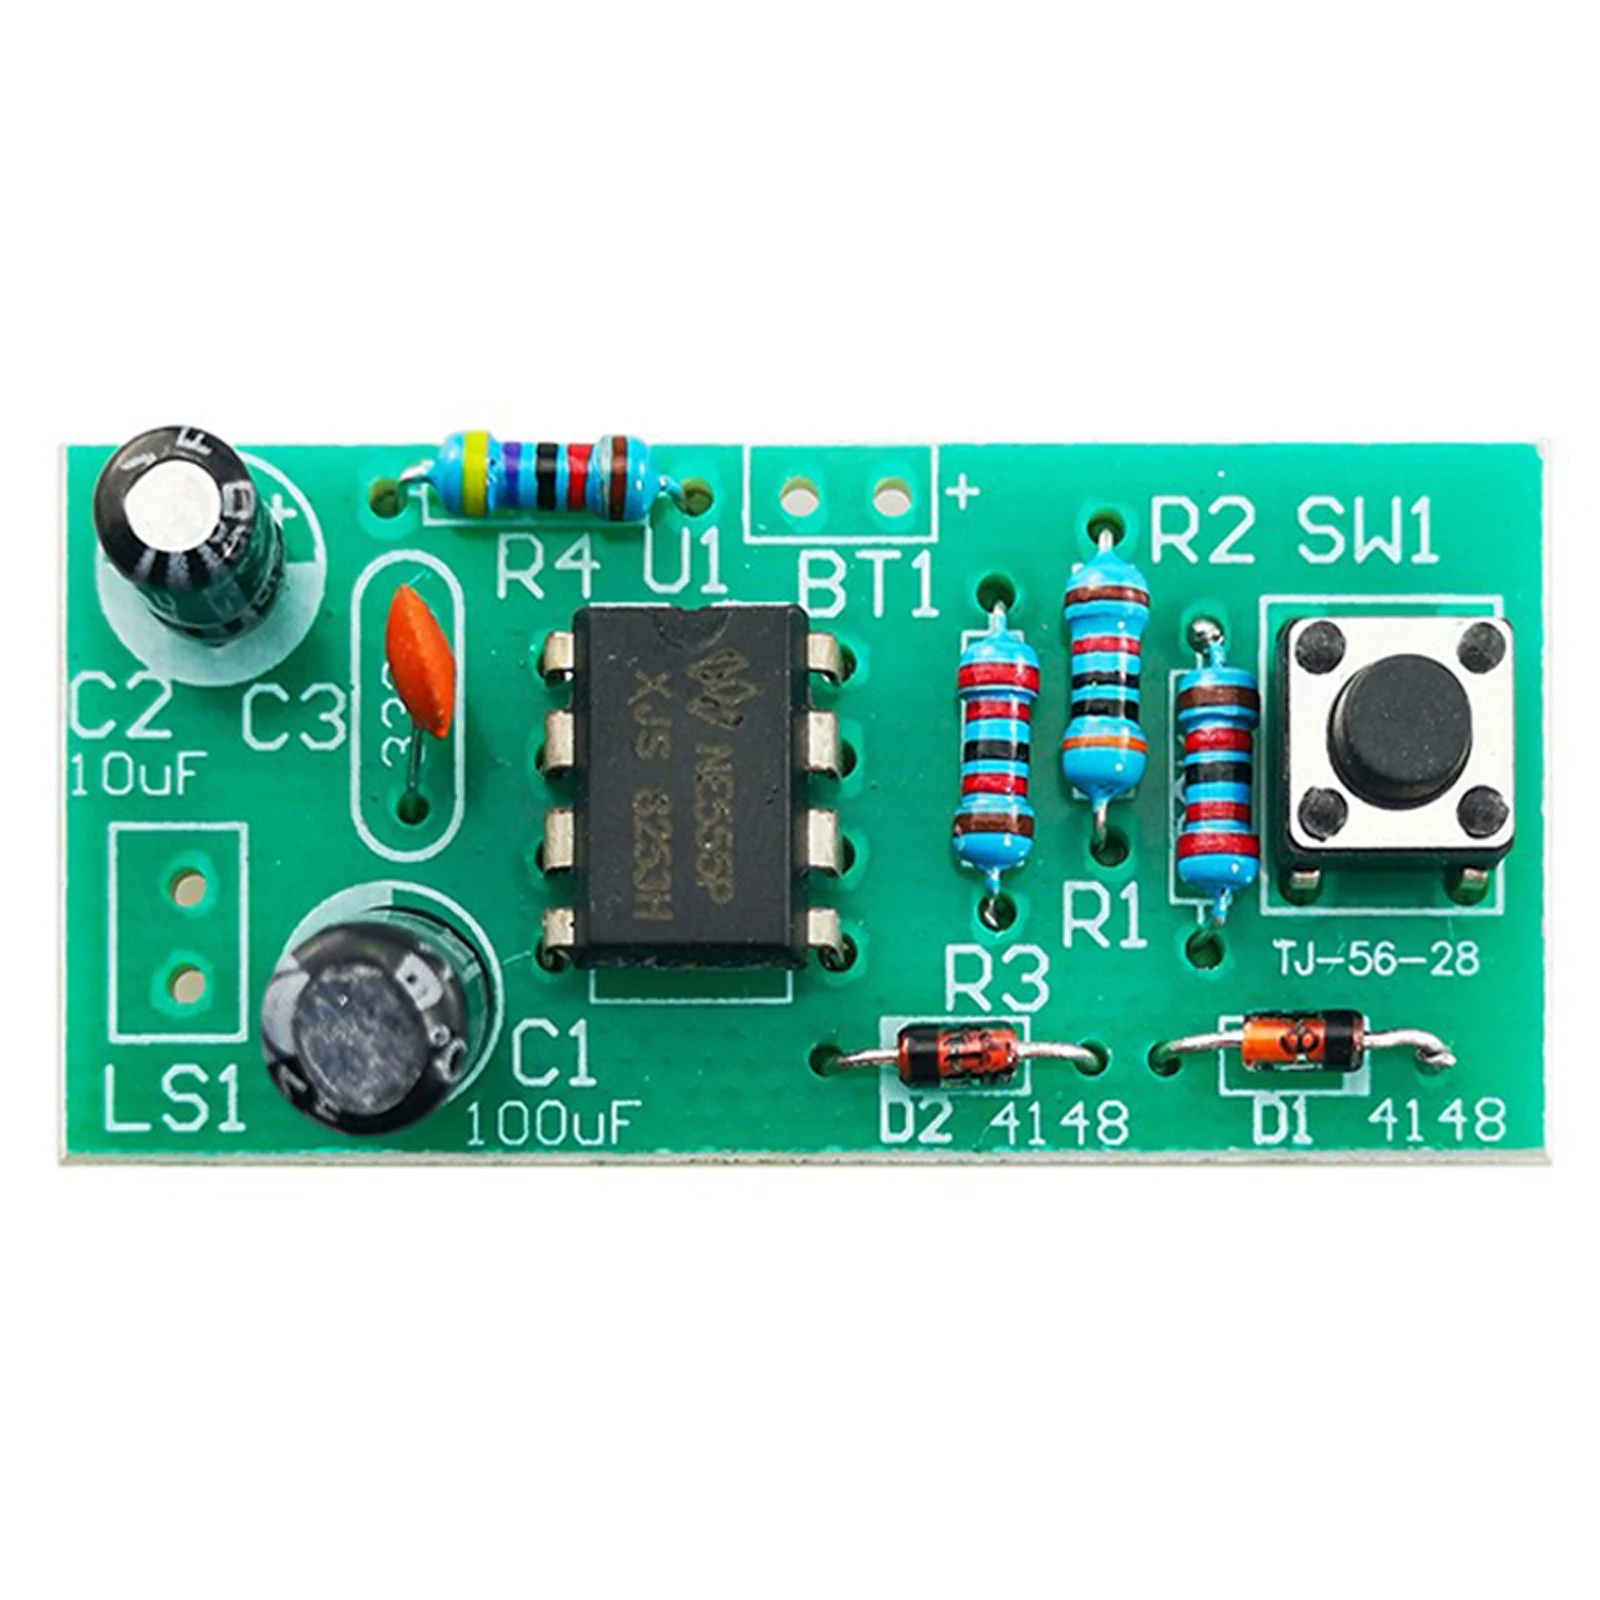
TJ-56-28 is a NE555 Doorbell Analog Circuit Electronic Soldering DIY Kit. It is an electronic doorbell control system. When the button is pressed, the horn makes
a sound ‘dingdong~~’
It is a very interesting DIY electronic product which enables users to understand the circuit more clearly and learn soldering skills.
2.Feature:
1>.Basic
circuit principle demonstration
2>.Simple
and convenient operation
3>.DIY
Hand Soldering
3.Parameter:
1>.Product
Name: TJ-56-28 NE555 Doorbell Analog Circuit DIY Kit
2>.Work
Voltage: DC 6V
3>.Work
Temperature:-40℃~85℃
4>.Work
Humidity:5%~95%RH
5>.Size(Installed):41*19mm
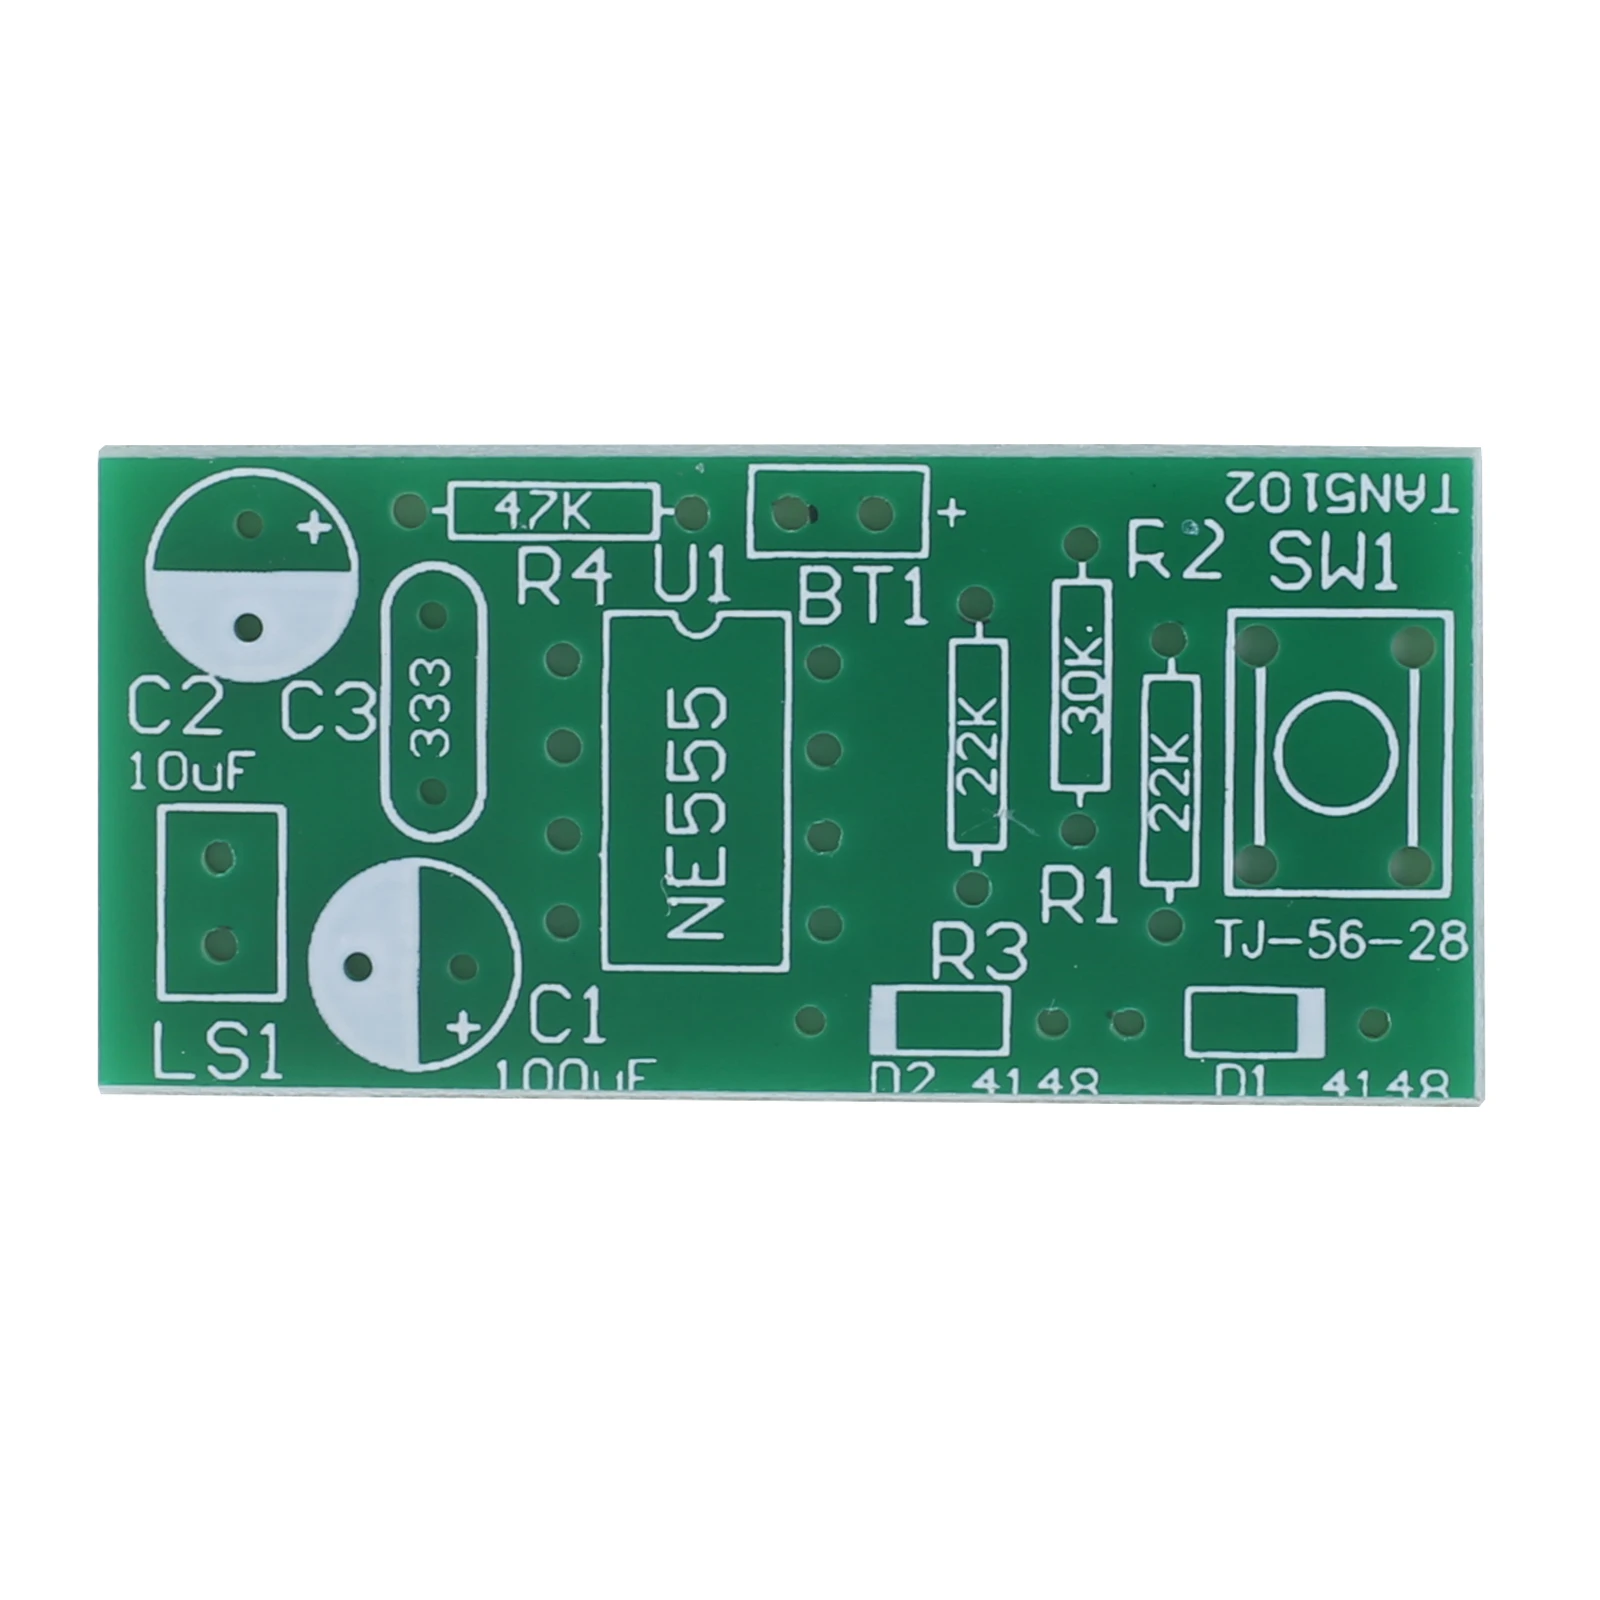
4.Component Listing:
| NO. |
Component
Name |
PCB
Marker |
Parameter |
QTY |
| 1 |
Metal Film Resistor |
R1 |
30Kohm |
1 |
| 2 |
Metal Film Resistor |
R2,R3 |
22Kohm |
2 |
| 3 |
Metal Film Resistor |
R4 |
47Kohm |
1 |
| 4 |
1N4148 Diode |
D1,D2 |
DO-35 |
2 |
| 5 |
Electronic Capacitor |
C1 |
100uF |
1 |
| 6 |
Electronic Capacitor |
C2 |
10uF |
1 |
| 7 |
Ceramic Capacitor |
C3 |
0.033uF 333 |
1 |
| 8 |
NE555 |
U1 |
DIP-8 |
1 |
| 9 |
Black Button |
SW1 |
6*6mm |
1 |
| 10 |
0.5W 8ohm Speaker |
LS1 |
|
1 |
| 11 |
Wire |
|
10cm |
1 |
| 12 |
AA*4 Battery Box |
BT1 |
|
1 |
| 13 |
PCB |
|
41*19*1.6mm |
1 |
| Note: Users can complete the installation according
to the PCB silk screen and component list. |
5.Installation Tips:
1>.User needs to prepare the welding tool at
first.
1.1>.Soldering iron (<50 Watt)
1.2>.Rosin core ("radio") solder
1.3>.Wire cutters
1.4>.Wire strippers
1.5>.Philips screwdriver
2>.Please be patient until the installation is
complete.
3>.The package is DIY kit.It need finish
install by user.
4>.The soldering iron can't touch the components
for a long time(1.0 second), otherwise it will damage the components.
5>.Pay attention to the positive and negative
of the components.
6>.Strictly prohibit short circuit.
7>.Install complex components preferentially.
8>.Make sure all components are in right
direction and right place.
9>.It is strongly recommended to read the
installation manual before starting installation!!!
10>.Please wear anti-static gloves or
anti-static wristbands when installing electronic components.